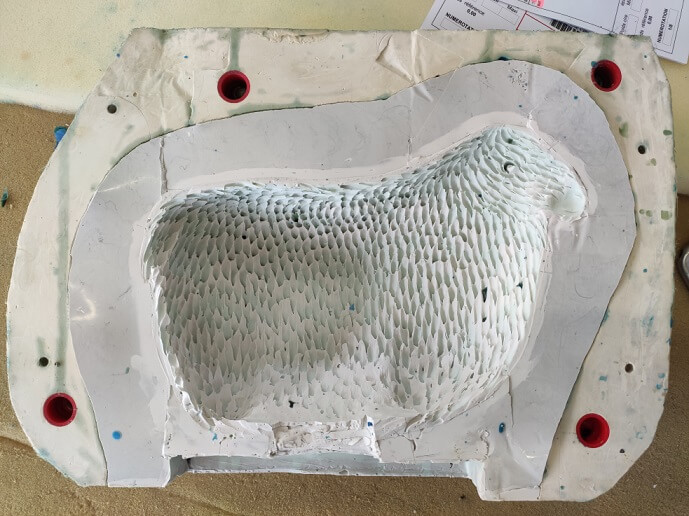
The first step is to create a mold from the original artwork. To do this, the piece is coated with elastomer.
Once dried, the elastomer is cut away, usually into 2 symmetrical parts down the middle. The elastomer is then coated with plaster. This process creates a unique mold which will be used for casting all further productions.
Bronze is not poured directly into this mold as it would not withstand the high temperature of molten metal.

Using a brush, we apply several layers of melted wax onto the silicone. As the wax cools and hardens, it fixates all the details of the sculpture. Once the excess waxed is removed the remaining wax coat is only several millimeters thick. This is the same thickness that the final bronze piece will be cast to, which explains why bronze sculptures are hollow inside.
When the elastomer mold is opened, we the obtain a wax replica of the original artwork.
These steps can be repeated as many times as necessary to obtain more pieces.
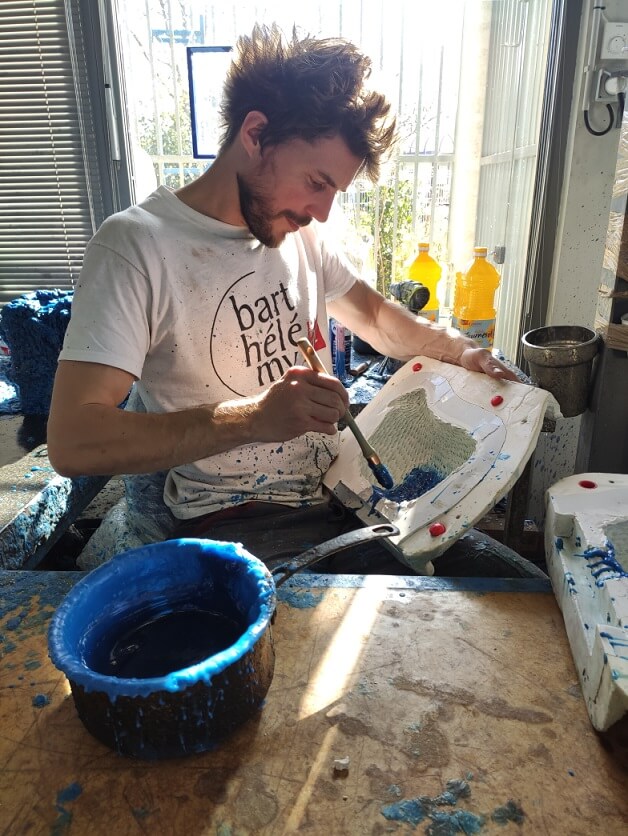


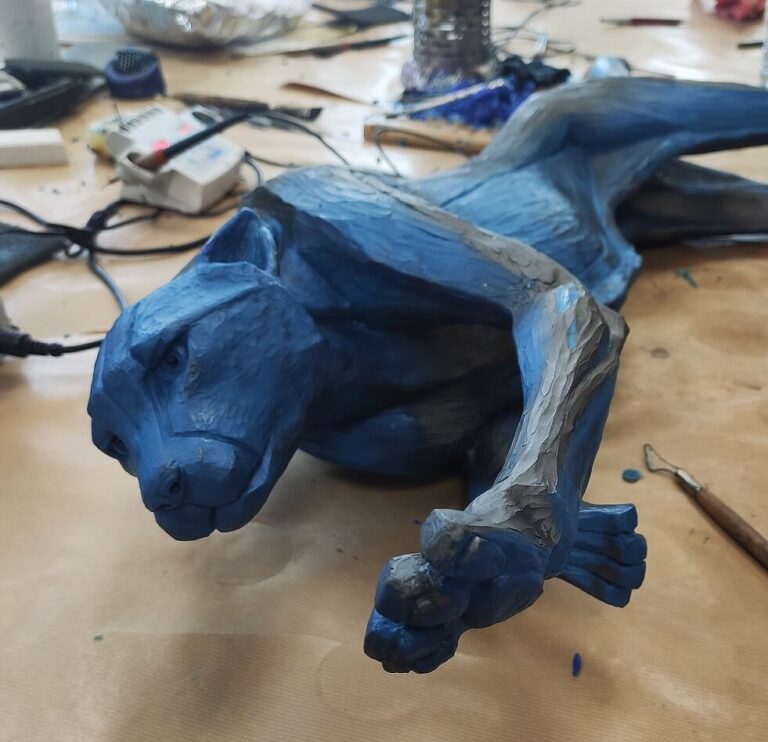
The main touch ups consist in eliminating any flash at the interface of the two mold halves.
The artist can also use this moment to recover any details lost during the creation of the mold.
The photo was taken during the wax mold touch up of the “African Cheetah” in April 2021.

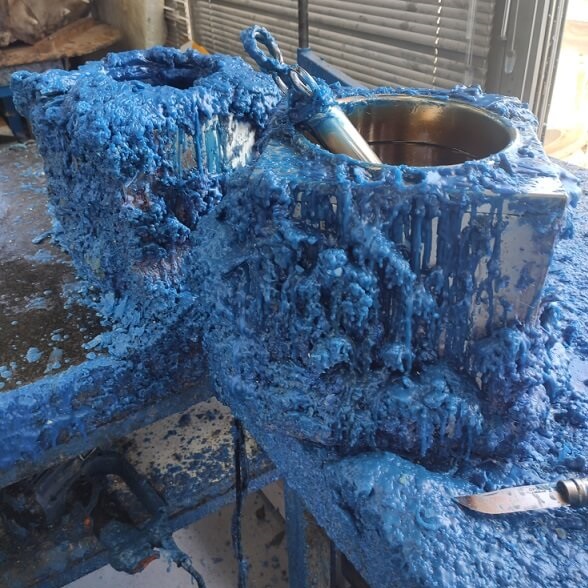
a) The mold is placed in a barrel which is in turn filled with plaster. The mold connects to the exterior of the barrel by a “wax tunnel”. The plaster then takes a precise inside and outside print of the mold (holes are created in the mold to allow plaster to fill the inside cavity).
b) The barrel is then turned upside down and heated in a furnace for several days in order to let the wax melt away through the tunnel by gravitational force. This also makes the plaster refractory to the molten bronze.
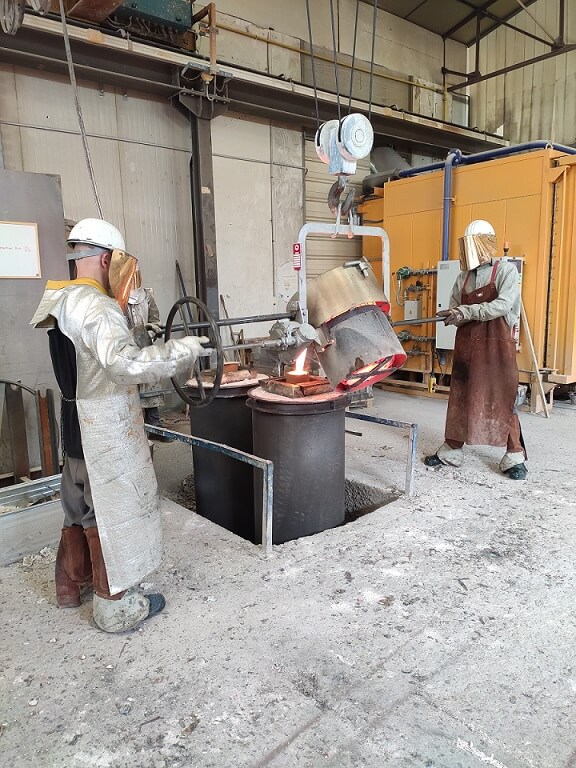
c) Molten bronze (1180°C) is then poured inside, taking the empty space left when the wax melted away. The alloy contains a minimum of 85% copper.
d) Once the barrel cools to room temperature the plaster exterior is broken off using a hammer and the plaster inside is removed using a high-pressure washer.

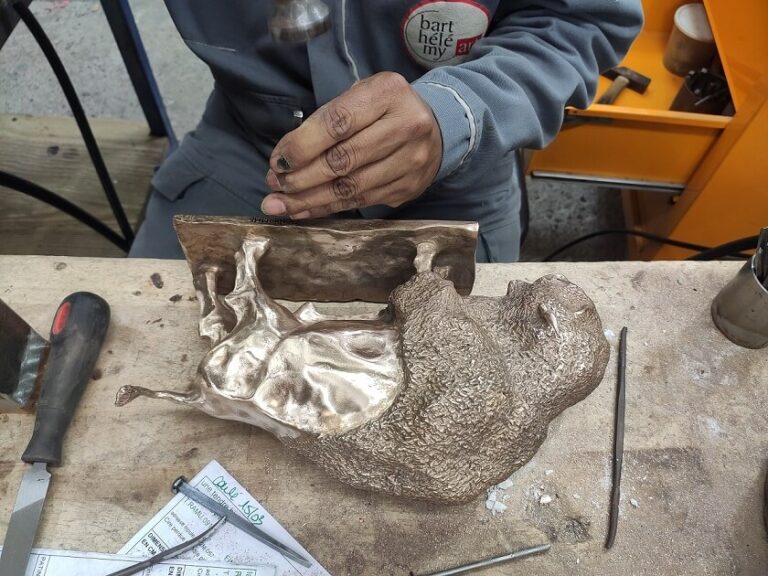
The wax tunnels are then cut off and the holes used to fill the inside cavity with plaster are welded shut.
Some areas are then polished or filed down to, for example, sharpen animal horns or to remove excess material accumulated during welding.
The raw art piece has a yellow golden color as this stage.

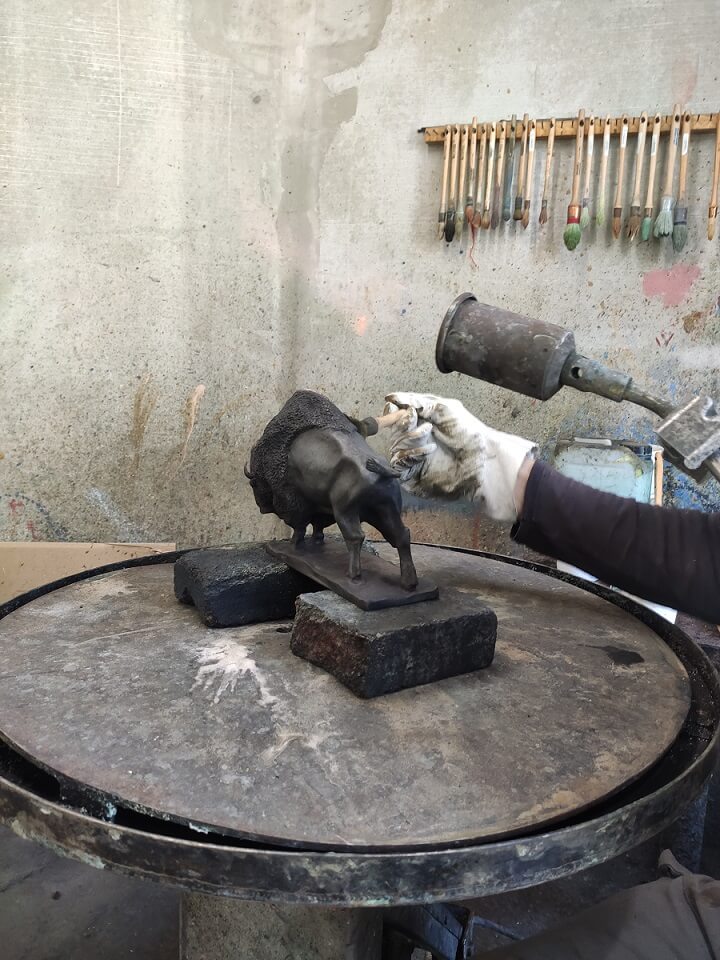
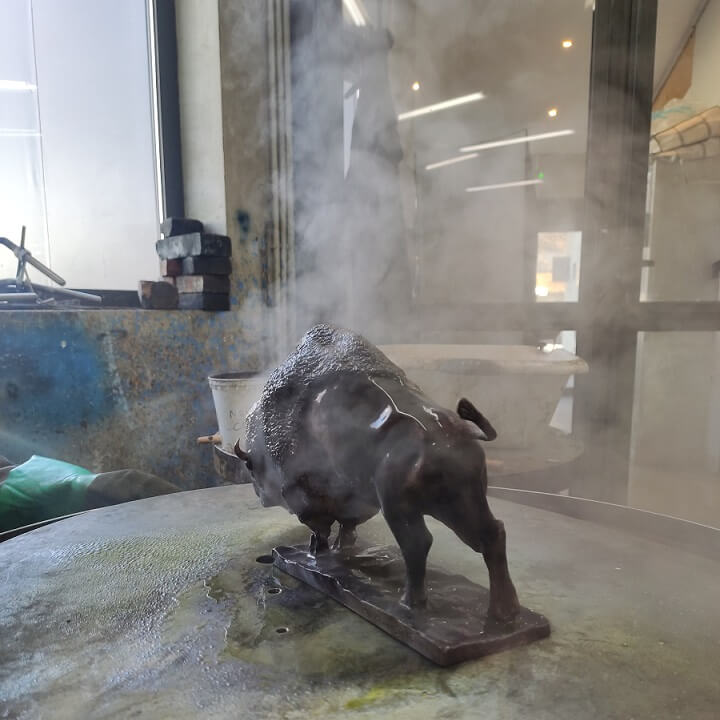
The final step is to give the artwork patina which is a long process. This is done by combining heat from a blowtorch and metal salts. This results in the oxidization of the surface giving the artwork it’s final finish.
The many possible combinations of salts allow an almost infinite number of hues and aspects to be created (transparency, mat, sheen…). Wax can also be added at this stage to make the surface even shinier.